Create your first form
A form is a named endpoint plus the rules around it: who gets notified, where files go, which spam layers run, what theme renders the public version (if it has one).
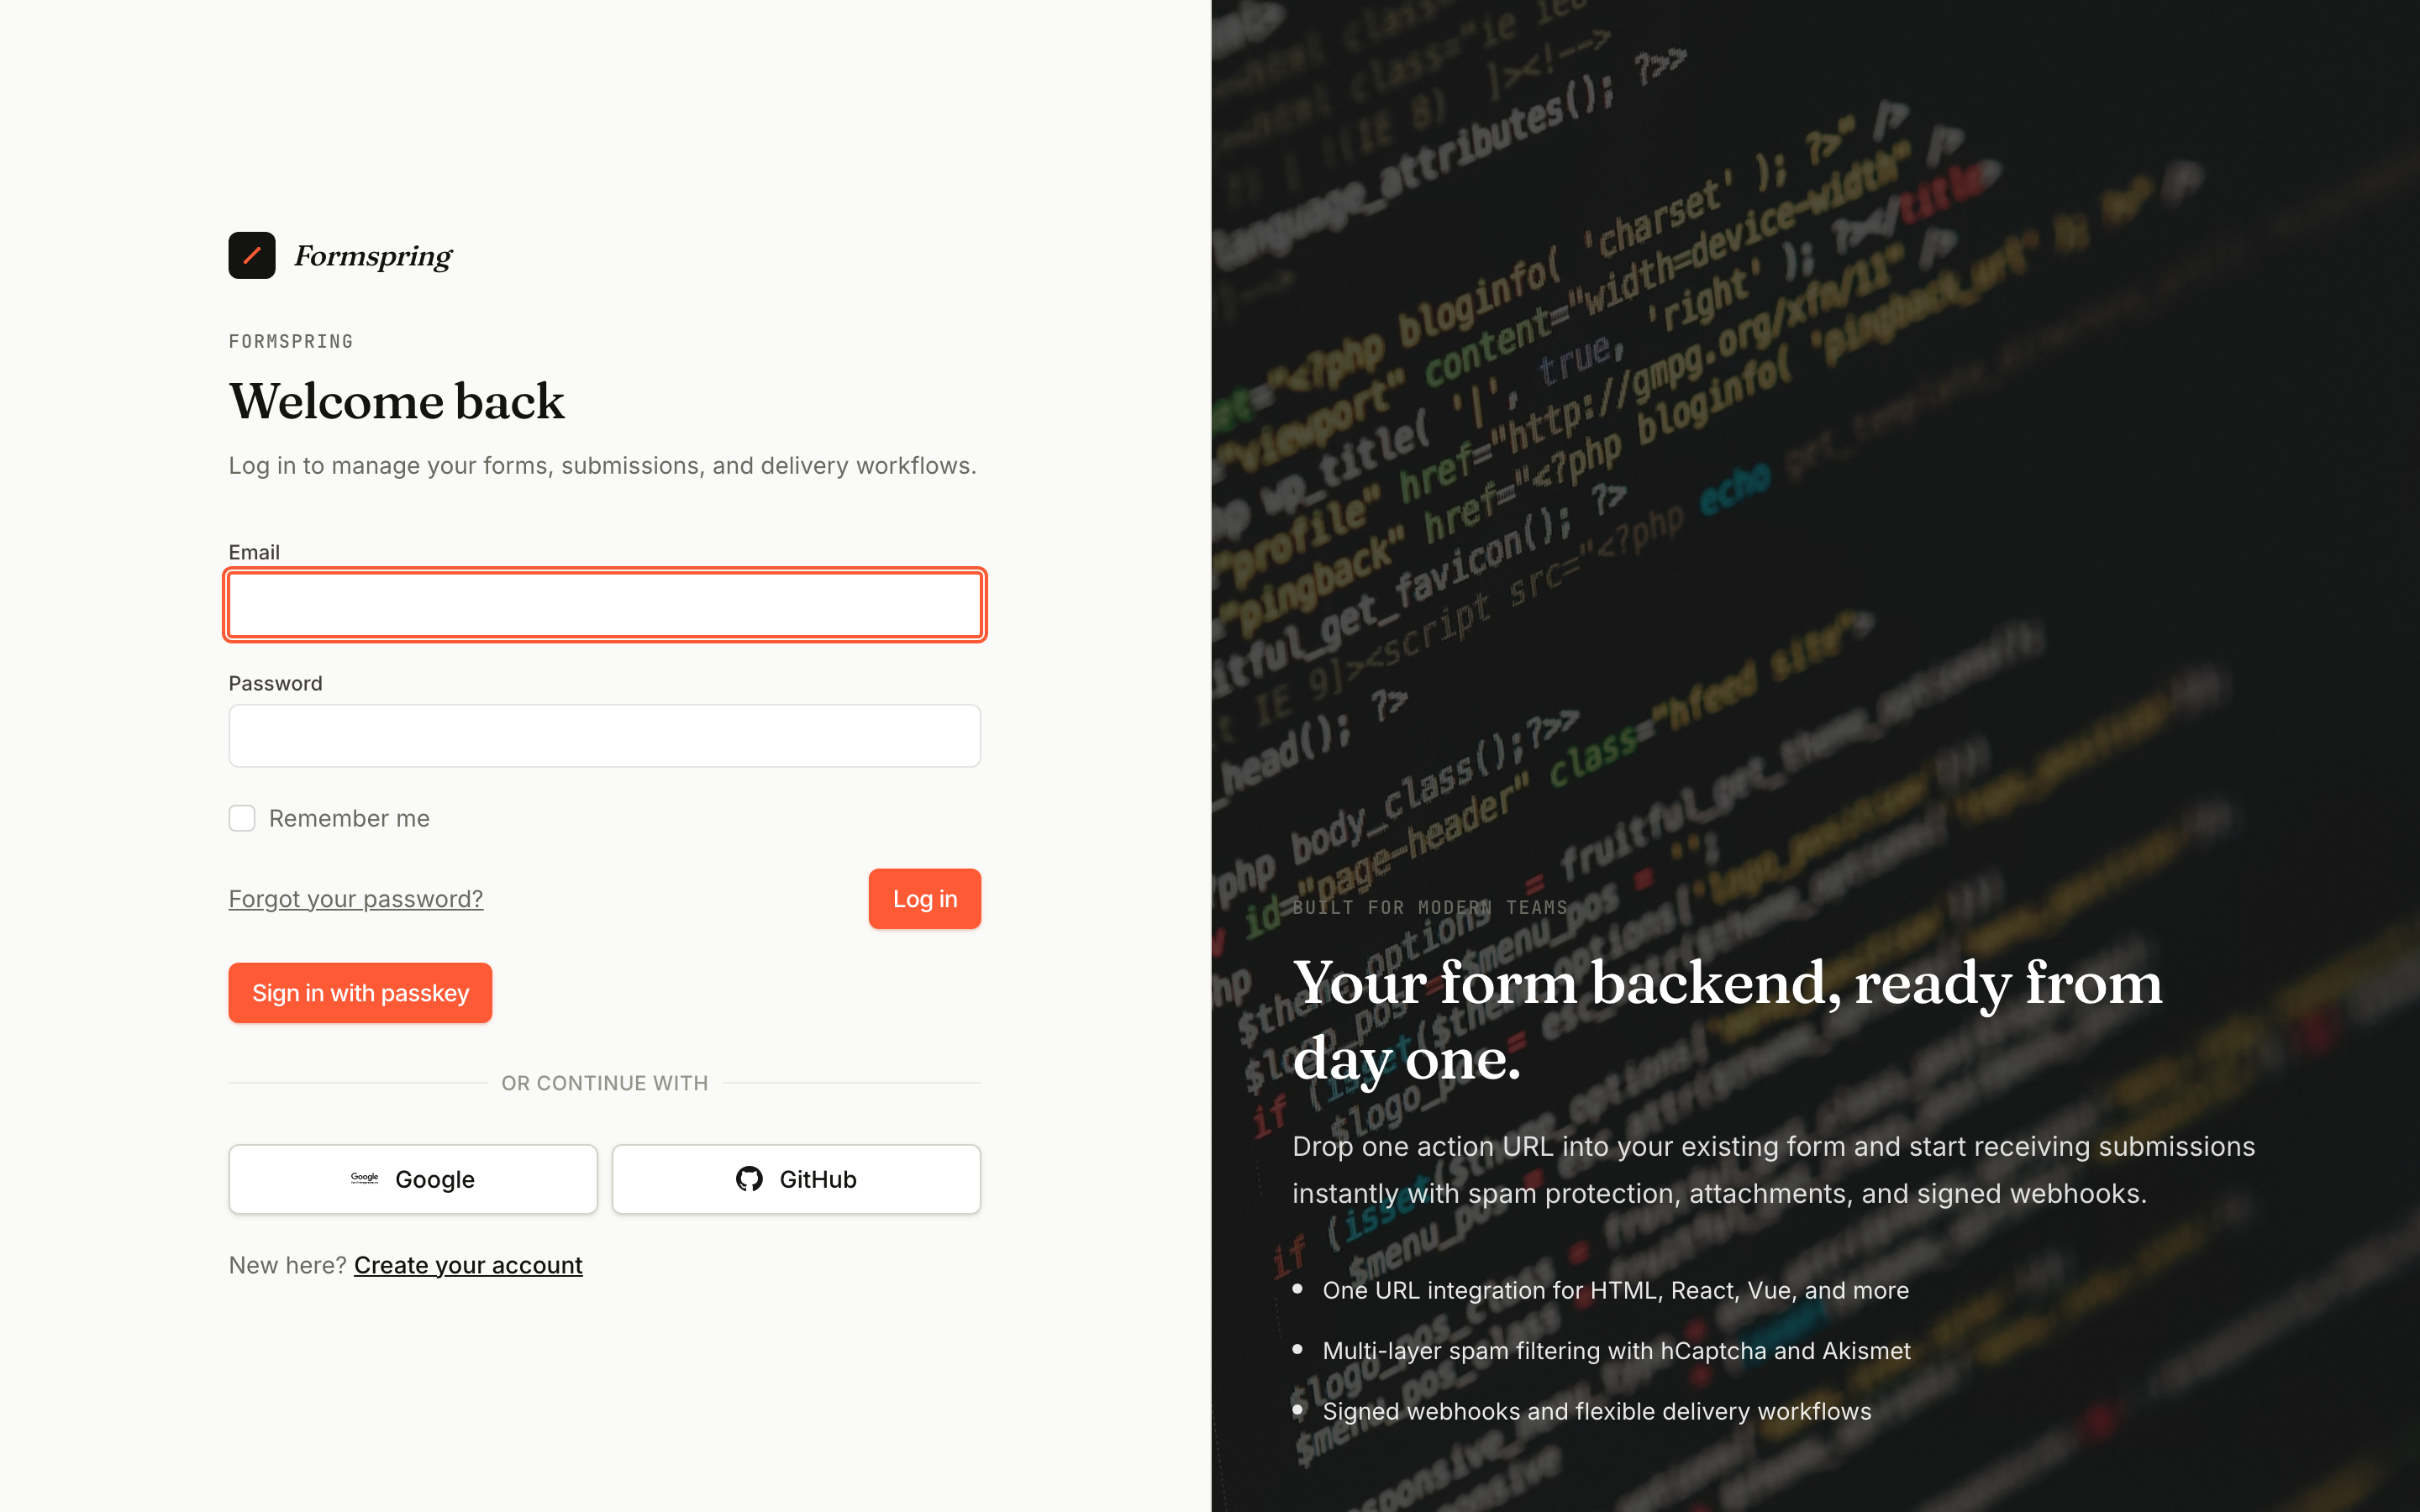
1. Sign in
Go to Sign in. If you don't have an account, create one — it's free, no credit card.
2. New form
From the dashboard, click New form.
You'll see a template chooser. Pick Empty form for a backend-only endpoint (you keep your own HTML), or pick a template like Contact or Newsletter to get a hosted form with sensible defaults.
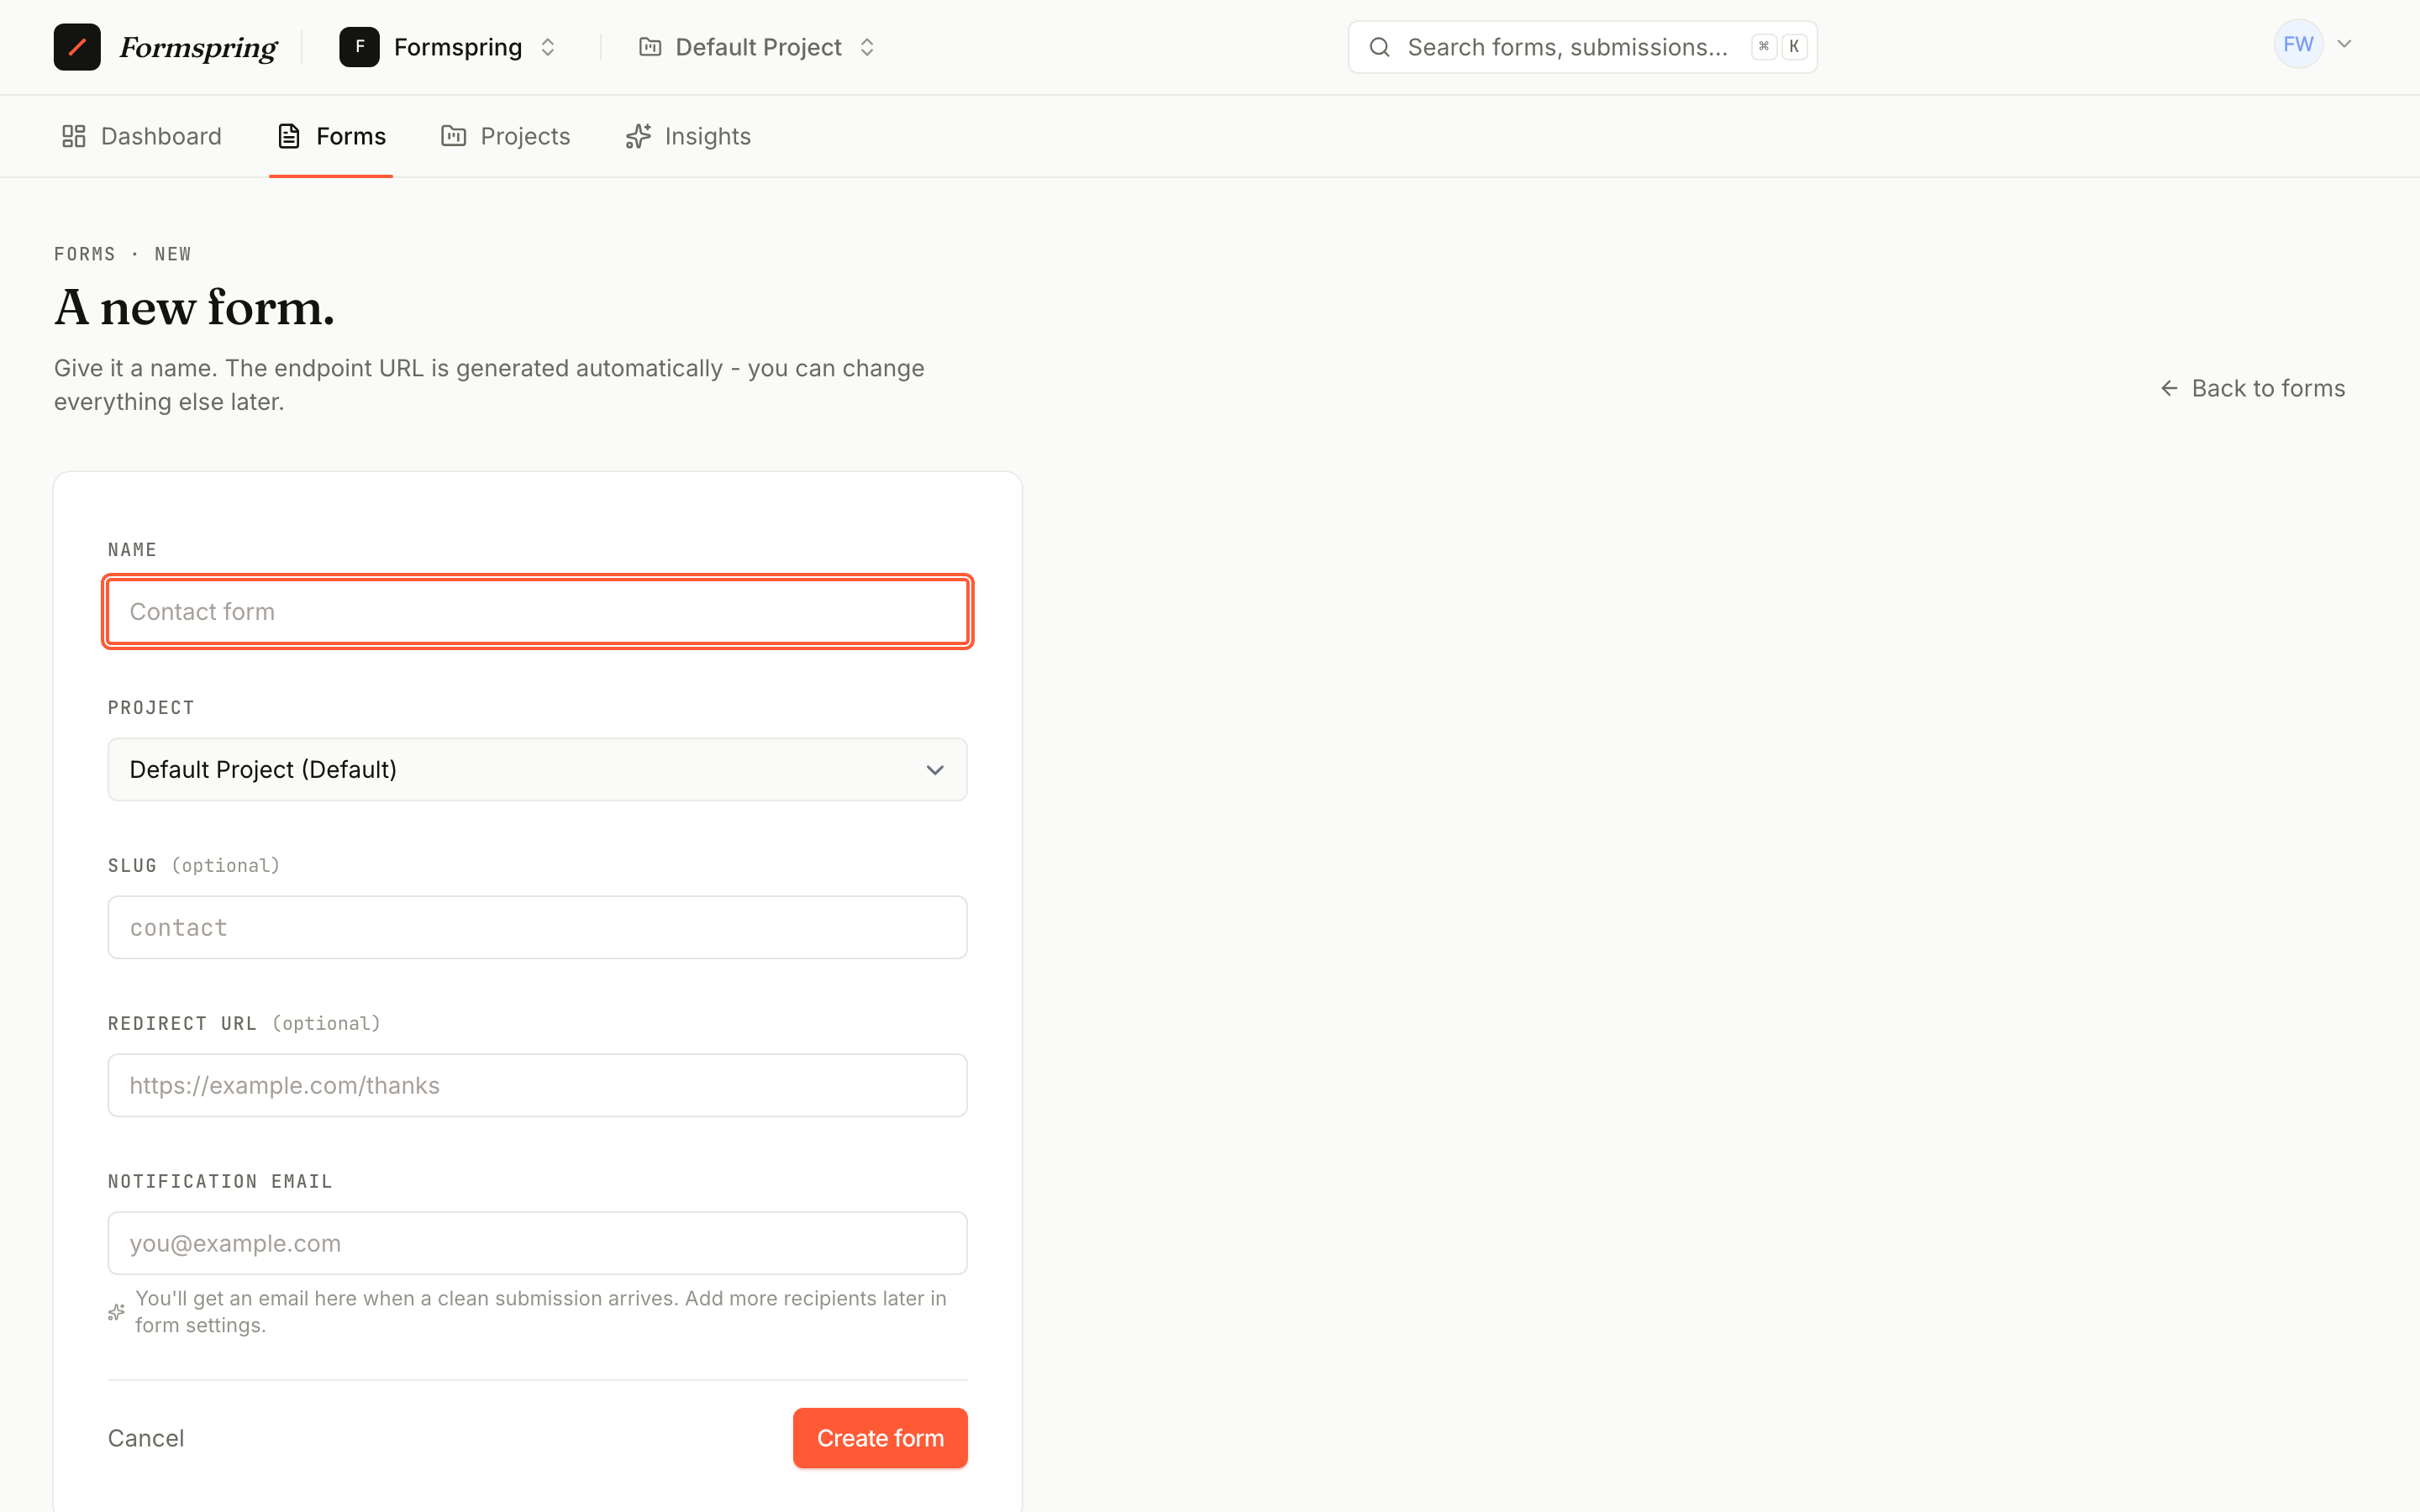
3. Configure the basics
Give your form:
- A name — what shows up in your inbox and email subjects.
- Notification emails (optional) — one address per line. Each address gets a copy of every clean submission.
- Allowed origins (optional) — restrict which domains can submit. Empty means any origin.
Hit Save.
4. Get your endpoint
Your form now has a unique URL like:
https://formspring.io/f/r2EdO-orF-3S
Anything that POSTs to that URL becomes a submission. CORS is configured per-form, the honeypot and rate-limit layers are on by default, and submissions land in your inbox in real time.
5. Try it
curl -X POST https://formspring.io/f/r2EdO-orF-3S \
  -H "Content-Type: application/json" \
  -d '{"name":"Ada","email":"ada@example.com","message":"Hello!"}'
Refresh your inbox — there it is.
What's next
- Receive your first submission → — wire it up to a real frontend
- Form builder → — design hosted forms visually
- Webhooks → — push to Slack, Zapier, your backend, and more